1)Apply low-pass filters and remove noise
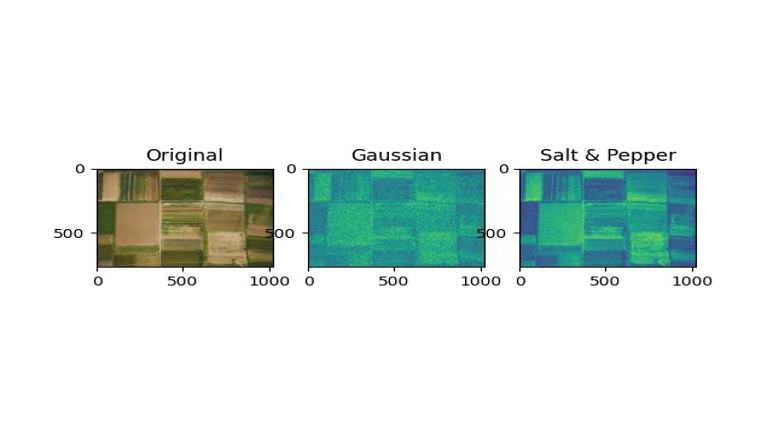
First, we add “Gaussian” and “Salt&Pepper” noises to the given images and then remove them.
The images after adding noise are like this:
Now, after adding noise, we add average, median, and Gaussian filters to the images in three different ways.
Here are the results:
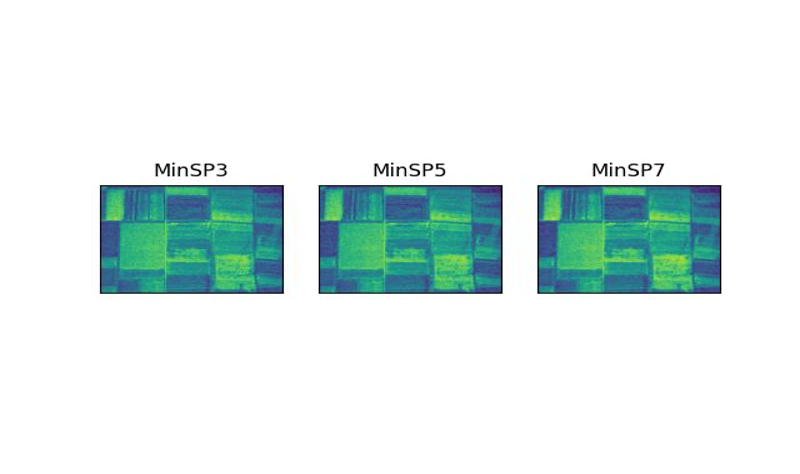

As it is known, the average filter works better in removing Salt&Pepper noise.
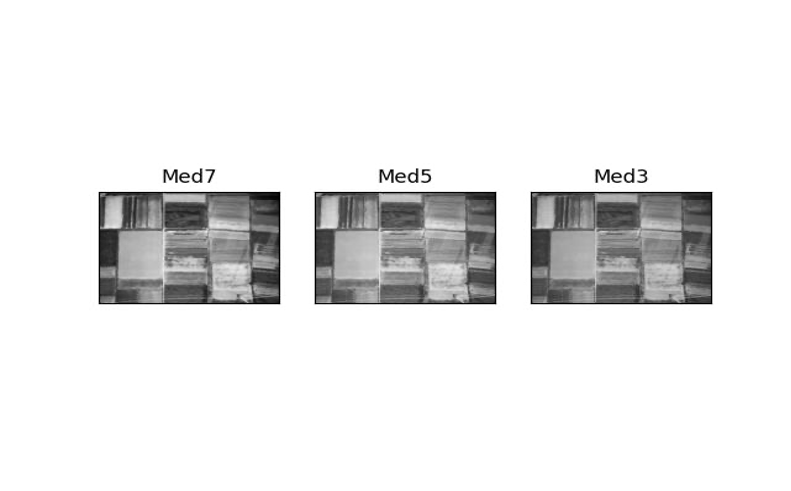
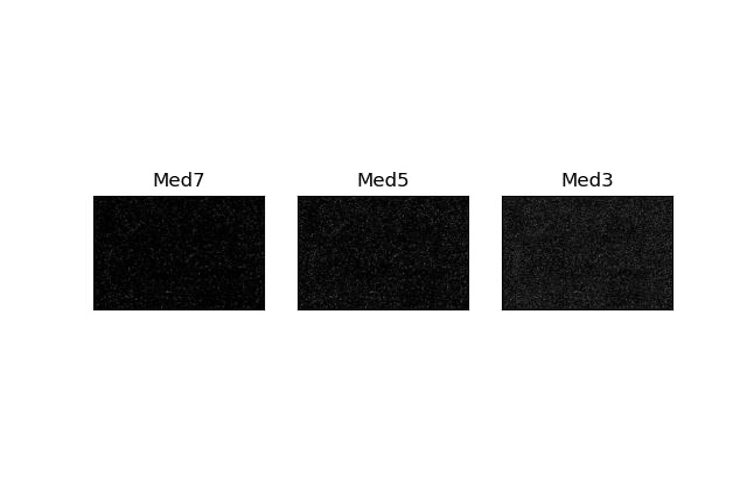
This filter also works better on Salt&Pepper noise. As can be seen in the pictures, after applying the median filter on the Gaussian noise, there is nothing left of the image.

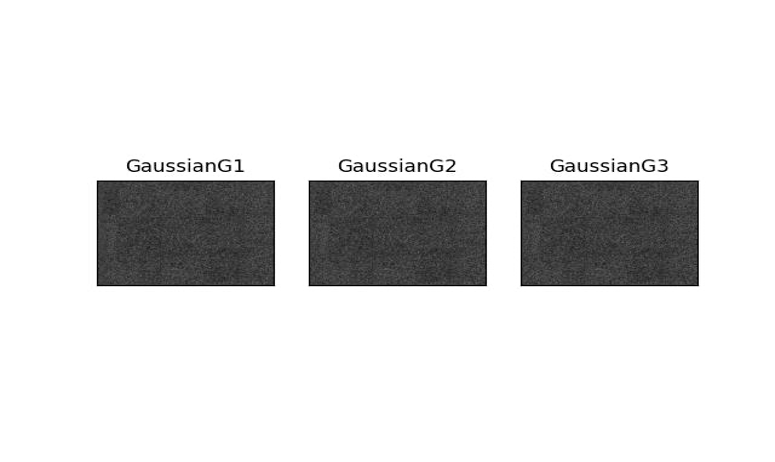
As it is known, the Gaussian filter cannot do anything on the Gaussian noise and makes the image blurry. Like the previous two filters, this filter works better on the Salt&Pepper noise.
In general, among the three filters that we applied to the salt and pepper noise, the middle filter had better performance and returned the photo with less noise, although with a slight change compared to the original photo. After applying these three filters to the Gaussian noise, as it is known, the average filter was better than the other filters, and at least the general image can be seen after applying the filter.
Images containing noise become sharper after re-applying the noise, but there is not much difference in terms of removing the noise.
2)Apply high pass filters and edge detector
In this section, Prewitt, Sobel, and Laplacian filters are applied to the images, and then, we compare the obtained results. The photo used in this section is as follows:
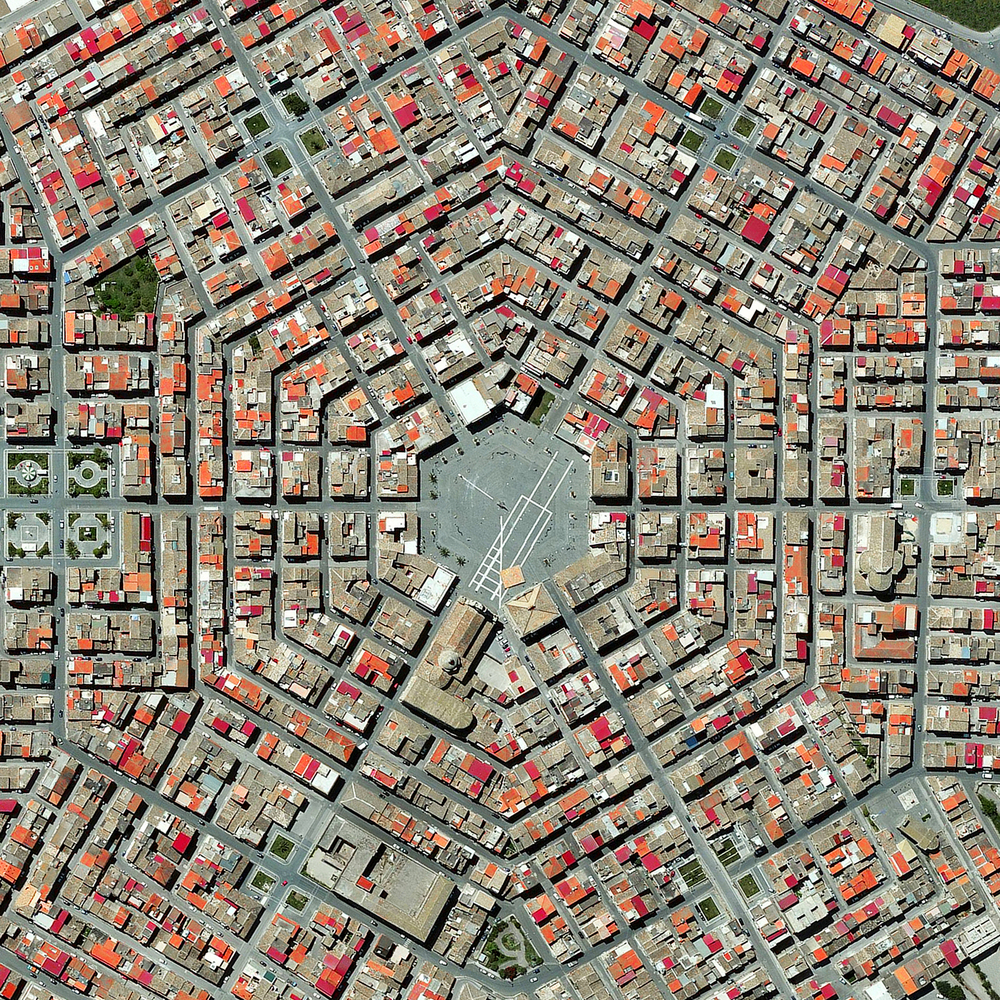
The resulting images after applying the mentioned filters are as follows
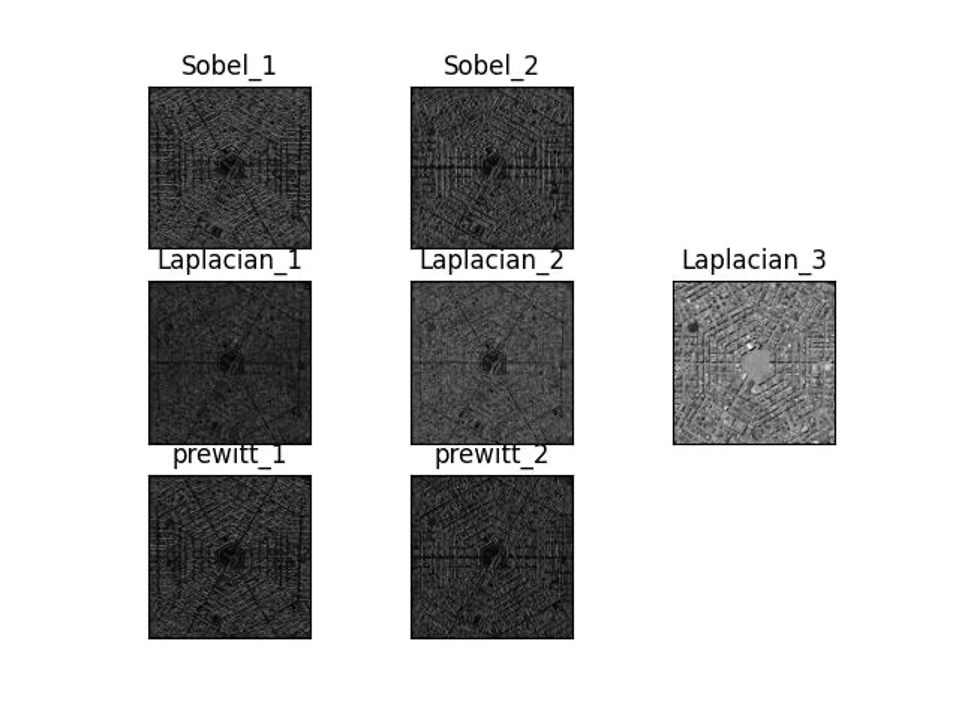
The conditions for applying filters are as follows:

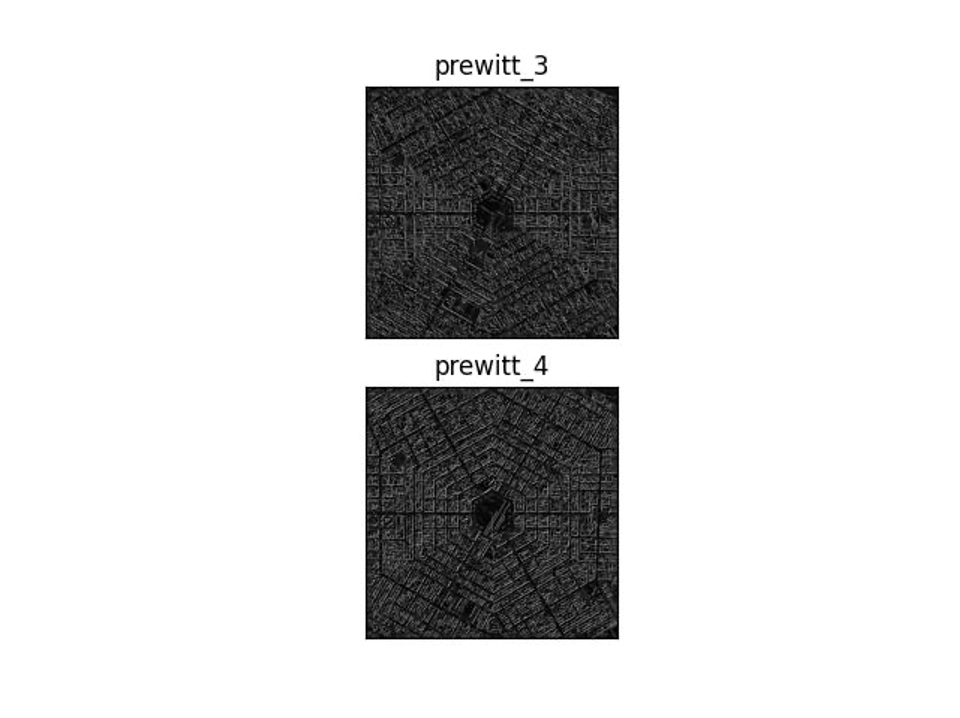
After applying two colored modes for the Prewitt filter, the following image was obtained:
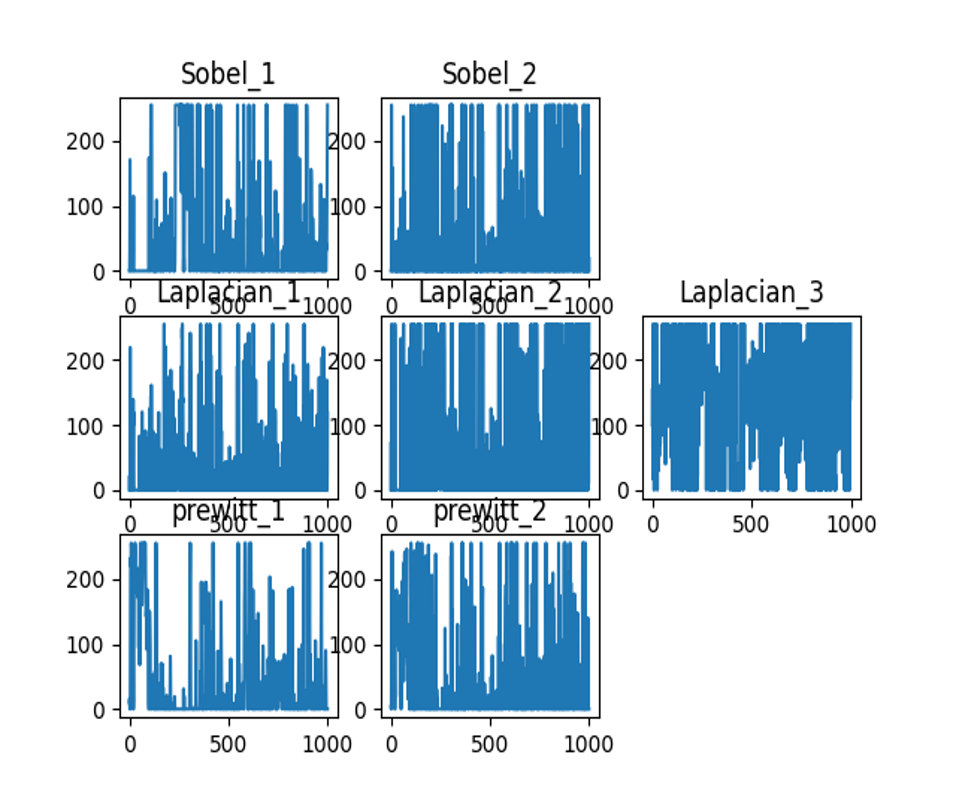
The horizontal profile of the image is as follows:
The full report of this project is available in the link below: